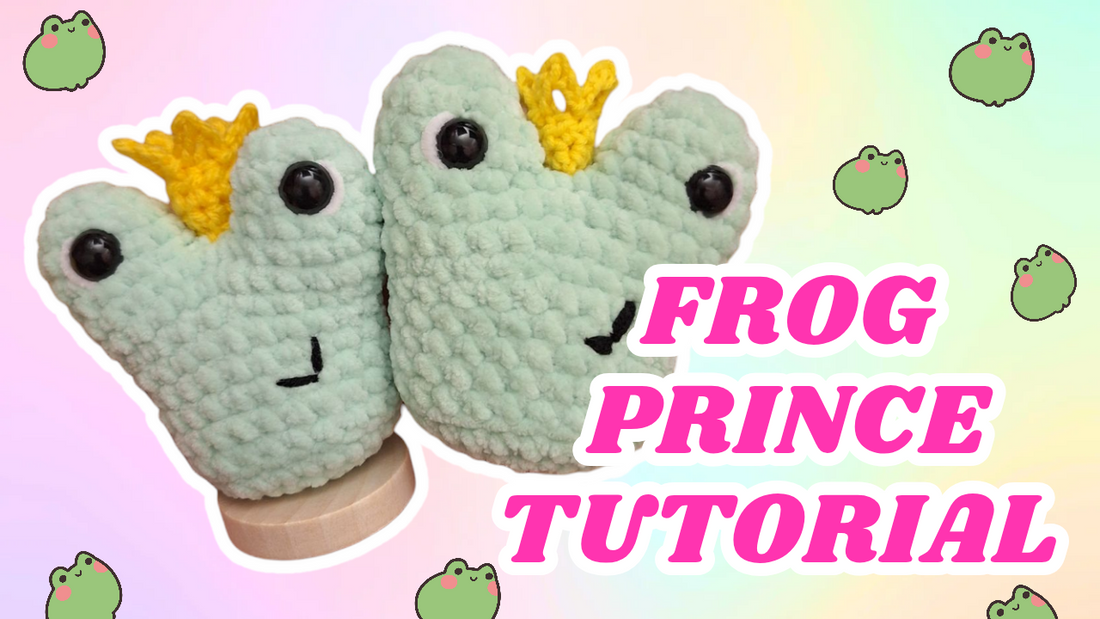
Kiss Your Yarn Goodbye (Because You'll Be Crocheting This Frog Prince!)
Share

Once upon a time, in a land filled with yarn and crochet hooks, a magical pattern emerged! Forget waiting for a kiss to turn your frog into a prince; with this adorable amigurumi pattern, you can craft your own royal amphibian in no time. Whether you're a seasoned crocheter or just dipping your toes into the world of amigurumi, this project promises a delightful journey from pond dweller to princely companion. Get ready to leap into a world of fun and create your very own fairytale ending!
This pattern is written in standard UK crochet terms Materials
• Cygnet jellybaby yarn or cygnet DK pato (see pictures for the comparisons)
• Black embroidery thread
• 4mm Crochet hook (for chenille) or 3mm crochet hook (for DK)
• Scissors
• Stitch Marker
• Tapestry Needle
• Stuffing
• 12mm (for chenille) or 9mm (for DK) safety eyes
Abbreviations used - US terms in brackets
Ch – Chain stitch (Ch)
Sl st – Slip Stitch (Sl st)
MR – Magic ring (MR)
Inc – Increase (Inc)
Dec - Decrease (Dec)
DC – Double crochet (Sc)
St – Stitch (St)
FO – fasten off your yarn (FO)
* * - repeat the instructions between the asterisk as many times as directed
BLO – Work in only the back loops of the stitch for the stated number of rounds (BLO)
Htr - half treble crochet (Hdc)
Instructions
The frog is made from top down working in the round (DO NOT join at the end of every round, use a stitch marker to mark the ends of the rounds). Eyes are made separately and then joined. This pattern is a no sew crochet pattern.
Eyes – make 2, FO after the first eye but do not FO after the second eye
- 6 Dc in MR (6)
- [Inc] x 6 (12)
- DC around (12)
- DC around (12) FO the first eye only
After you have made the second eye continue as follows
Body – starting with two eyes
- After making the second eye Ch 3 and Dc in the 12 stitches on the first eye (this will join the two eyes together). Dc across the Ch 3 and Dc in the 12 stitches on the second eye. Dc in the back of the Ch 3. Round finished 30 stitches in total.
- Dc around (30)
- Dc around (30)
- [3 Dc, Dec] x 6 (24)
- Dc around (24)
- Dc around (24)
- Dc around (24)
- Add safety eyes here between rounds 4 and 5 of the eye shape. Dc around (24)
- Dc around (24)
- Dc around (24)
- Dc around (24)
- In BLO Dc around (24)
- [2 Dc, dec] x 6 (18) Start to add stuffing here and stuff as you go.
- [Dc, dec] x 6 (12)
- Dec around (6). FO and sew the hole closed.
Crown
- Chain 12, Htr in the 3rd ch from the hook and across (10)
- Ch 2, turn, Htr across (10)
- Ch 1, turn, *ch4, sl st in the second ch from the hook, ch 2, skip a stitch, sl st in the next*. Repeat from * to * 4 more times.
- Place the two shorter sides together, Dc 3 stitches down the sides to join them. FO leaving a long tail.
Construction
- Sew the crown to the head between the two eyes.
- Add eye whites to your frogs eyes.
Your frog Prince is now complete and ready for all the kisses!!!
You can find the video tutorial for this here.
